How to Master the Cultivation of Morel Mushrooms
- Dave Holland
- Jul 28
- 4 min read
Morel mushrooms are a prized delicacy among chefs and food enthusiasts alike. Their unique honeycomb appearance and rich, earthy flavor make them a sought-after ingredient. However, cultivating morel mushrooms can be challenging due to their specific growth requirements. This guide will walk you through the essential steps and tips to master the cultivation of morel mushrooms successfully.
Understanding the Basics of Cultivating Morel Mushrooms
Before diving into the cultivation process, it is important to understand what makes morel mushrooms unique. Morels belong to the genus Morchella and are known for their spongy, honeycomb-like caps. They grow naturally in temperate forests, often appearing in the spring after a good rain.
Cultivating morel mushrooms requires replicating their natural environment as closely as possible. This includes the right soil composition, moisture levels, temperature, and timing. Unlike common mushrooms, morels have a symbiotic relationship with certain trees, which influences where and how they grow.
To start cultivating morel mushrooms, you will need:
Morel mushroom spores or spawn
A suitable growing medium (usually a mix of hardwood chips, compost, and soil)
A shaded, moist environment
Patience, as morels can take several months to fruit
By understanding these basics, you set a strong foundation for successful cultivation.

Essential Tips for Cultivating Morel Mushrooms
Cultivating morel mushrooms requires attention to detail and patience. Here are some essential tips to help you along the way:
Choose the Right Spawn
Use high-quality morel spawn from a reputable supplier. This ensures you start with healthy mycelium, increasing your chances of success.
Prepare the Growing Medium
Morels thrive in a mix of hardwood chips, leaf mold, and well-drained soil. Avoid using fresh wood chips as they can inhibit growth. Composting the material for several months before use is ideal.
Maintain Proper Moisture
Morels need consistent moisture but not waterlogging. Water the area regularly, especially during dry spells, but ensure good drainage to prevent rot.
Control Temperature and Light
Morels prefer cool temperatures between 50-70°F (10-21°C). They grow best in shaded areas with indirect sunlight, mimicking their natural forest habitat.
Patience is Key
Morels can take anywhere from 2 to 3 months to fruit after inoculation. Avoid disturbing the area and keep conditions stable.
By following these tips, you can create an environment conducive to morel growth and increase your chances of a successful harvest.

Where is the Best Place to Plant Morel Mushrooms?
Choosing the right location is crucial for cultivating morel mushrooms. Morels naturally grow in specific environments, so replicating these conditions will improve your success rate.
Wooded Areas: Morels often grow near deciduous trees such as ash, elm, oak, and apple trees. Planting near these trees can encourage symbiotic relationships.
Moist, Well-Drained Soil: Look for areas with rich, loamy soil that retains moisture but drains well. Avoid heavy clay or sandy soils.
Shaded Spots: Morels prefer partial shade. Planting under tree canopies or in areas that receive filtered sunlight is ideal.
Disturbed Ground: Morels sometimes appear in areas disturbed by fire, logging, or flooding. Mimicking these conditions by lightly disturbing the soil can help.
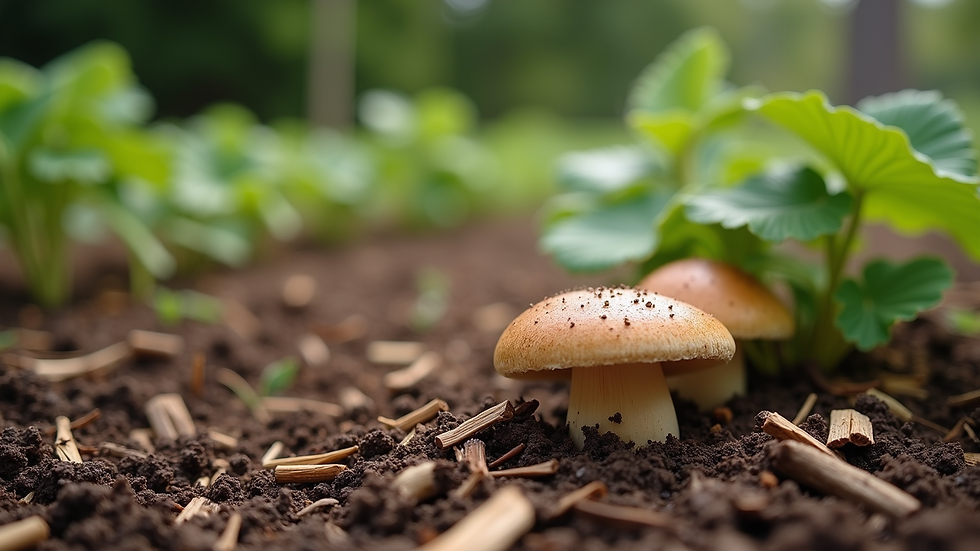
If you are planting in a garden or controlled environment, try to replicate these conditions as closely as possible. Raised beds with a mix of hardwood chips and compost can simulate a forest floor.

Step-by-Step Guide to Cultivating Morel Mushrooms
Now that you understand the basics and the ideal location, here is a step-by-step guide to cultivating morel mushrooms:
Obtain Morel Spawn
Purchase spawn from a trusted supplier. You can choose between sawdust spawn, grain spawn, or plug spawn depending on your setup.
Prepare the Site
Clear the area of debris and weeds. If planting in the wild, lightly till the soil to aerate it. For garden beds, mix hardwood chips, compost, and soil.
Inoculate the Soil
Spread the morel spawn evenly over the prepared site. Cover lightly with soil or mulch to protect the spawn.
Water Regularly
Keep the soil moist but not soggy. Water in the morning to allow excess moisture to evaporate during the day.
Maintain Conditions
Monitor temperature and moisture levels. Use shade cloth if necessary to reduce direct sunlight.
Wait for Fruiting
Morels typically fruit in spring when temperatures rise. Be patient and avoid disturbing the area.
Harvest Carefully
When morels appear, harvest by cutting at the base to avoid damaging the mycelium.
For more detailed information on how to grow morel mushrooms, you can visit this comprehensive guide.
Troubleshooting Common Issues in Morel Cultivation
Even with the best preparation, you may encounter challenges when cultivating morel mushrooms. Here are some common issues and how to address them:
No Fruiting: This can be due to improper moisture, temperature, or soil conditions. Ensure your site mimics natural morel habitats and maintain consistent moisture.
Contamination: Competing fungi or mold can take over the growing medium. Use sterilized materials and avoid overwatering.
Slow Growth: Morels grow slowly. Avoid impatience and keep conditions stable.
Pests: Slugs and insects may feed on young mushrooms. Use natural deterrents like diatomaceous earth or barriers.
By identifying and addressing these issues early, you can improve your chances of a successful morel harvest.
Enhancing Your Morel Mushroom Cultivation Experience
Cultivating morel mushrooms can be a rewarding hobby or a profitable venture. To enhance your experience, consider the following:
Keep a Cultivation Journal: Record your planting dates, weather conditions, and results. This helps refine your technique over time.
Experiment with Different Sites: Try planting in various locations to see which yields the best results.
Join Mushroom Growing Communities: Online forums and local groups can provide valuable advice and support.
Use Quality Tools: Invest in good gardening tools and moisture meters to maintain optimal conditions.
With dedication and careful attention, you can master the art of cultivating morel mushrooms and enjoy their unique flavor year after year.


Comments